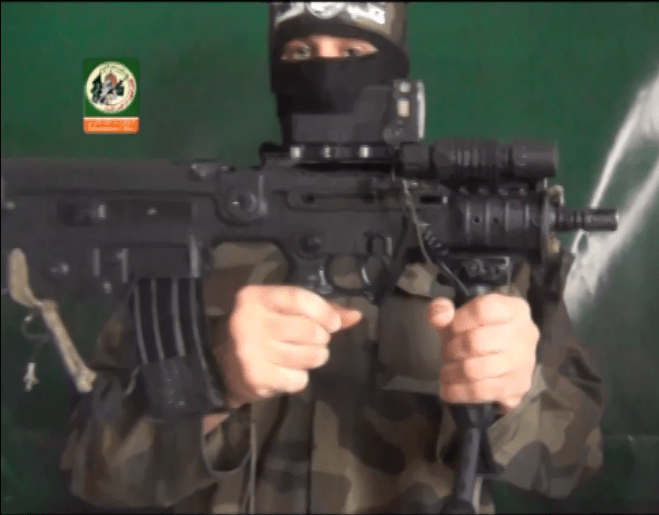
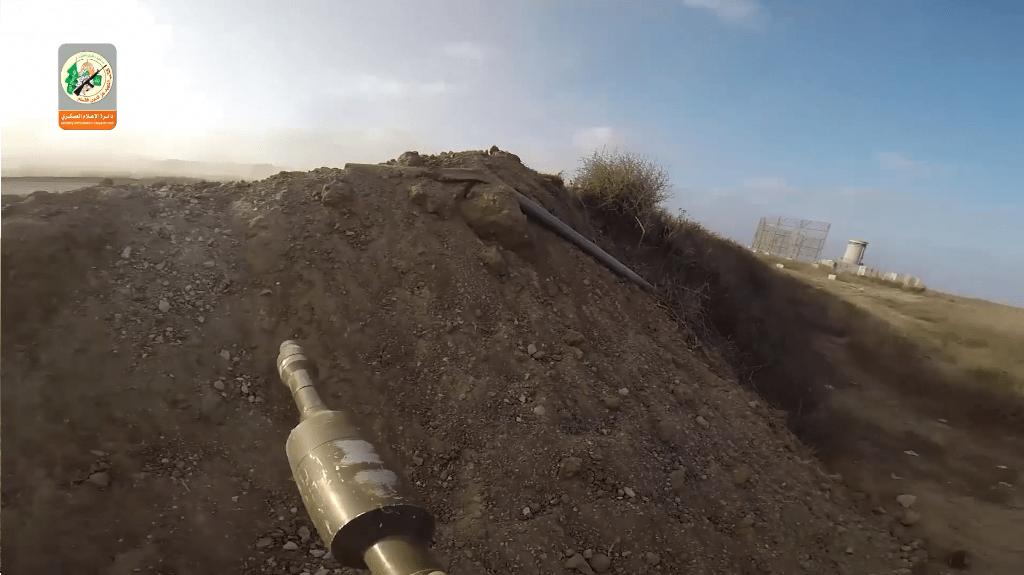
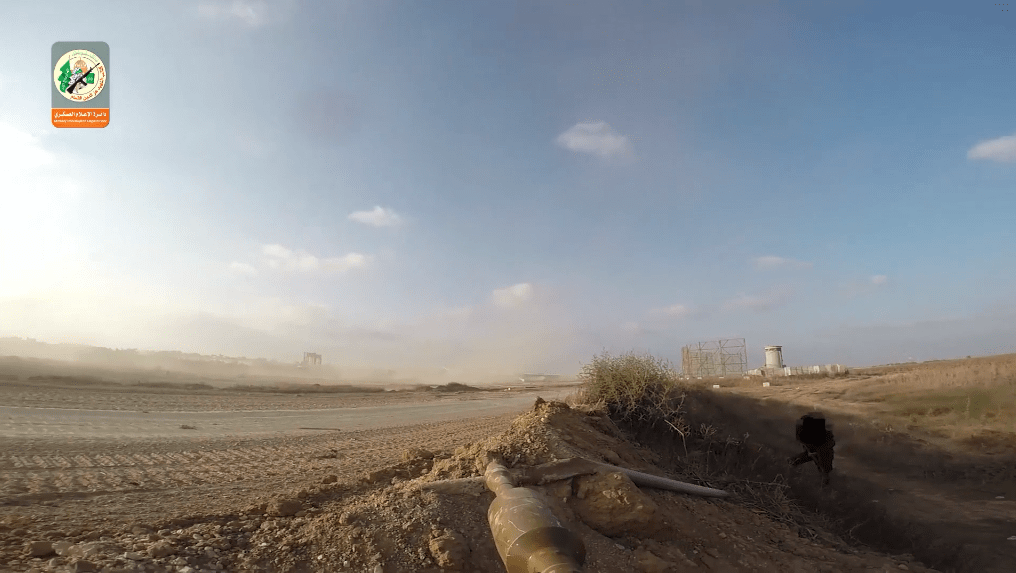
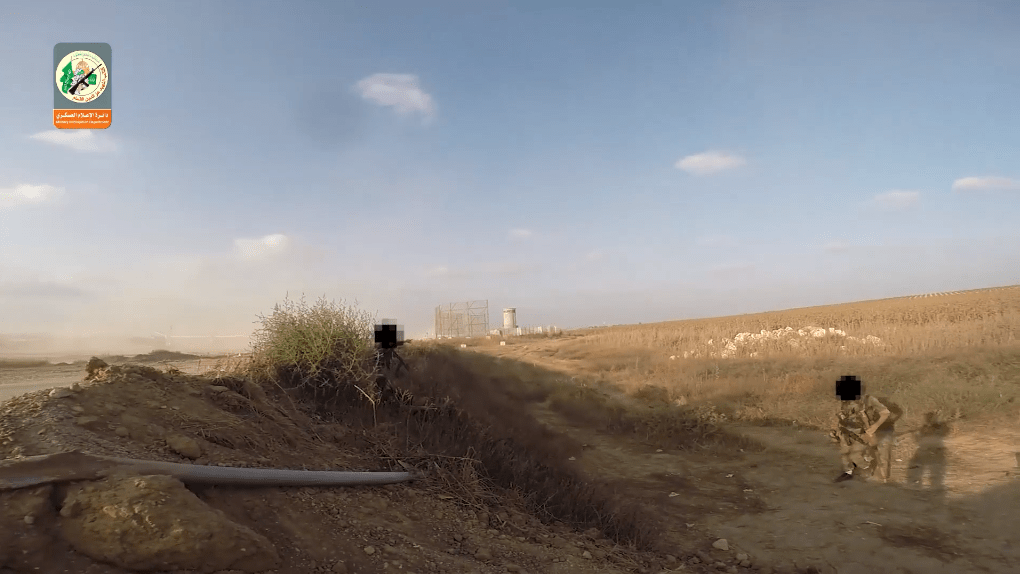
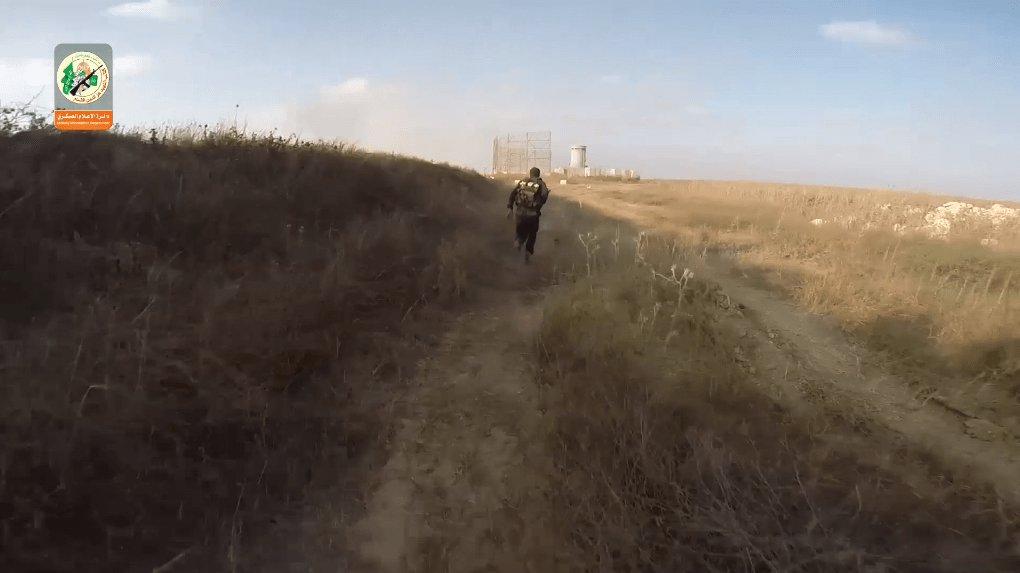
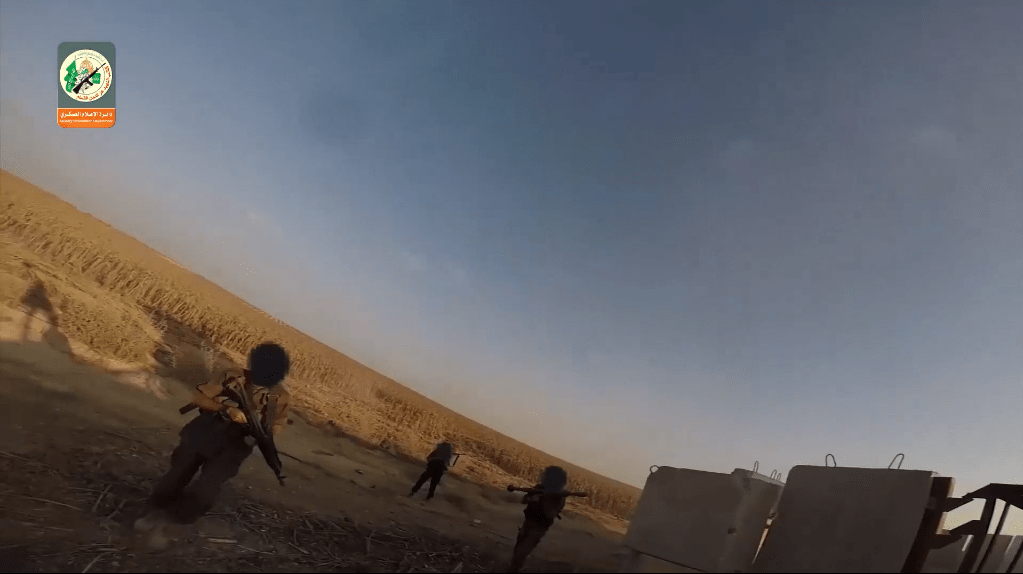
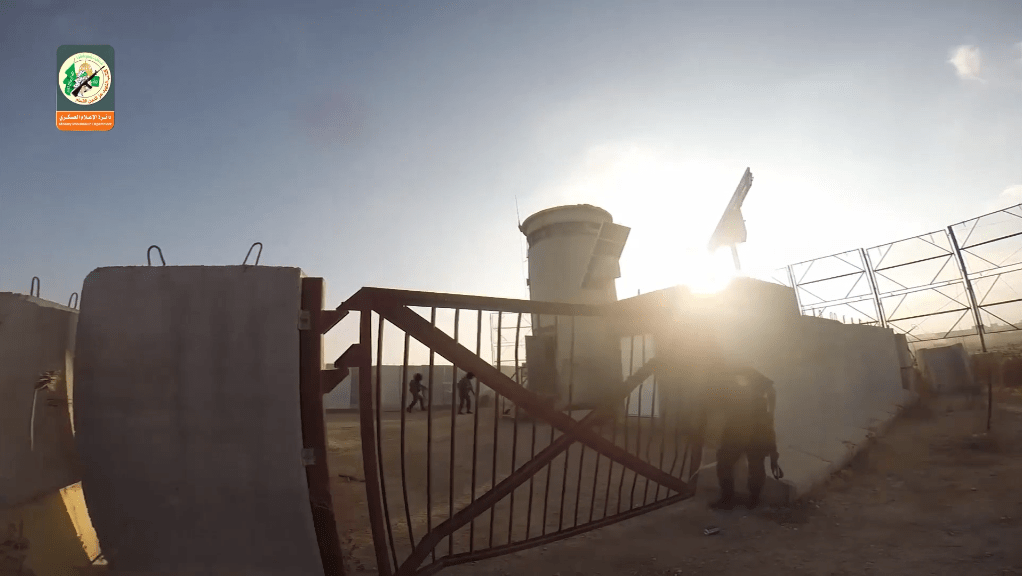
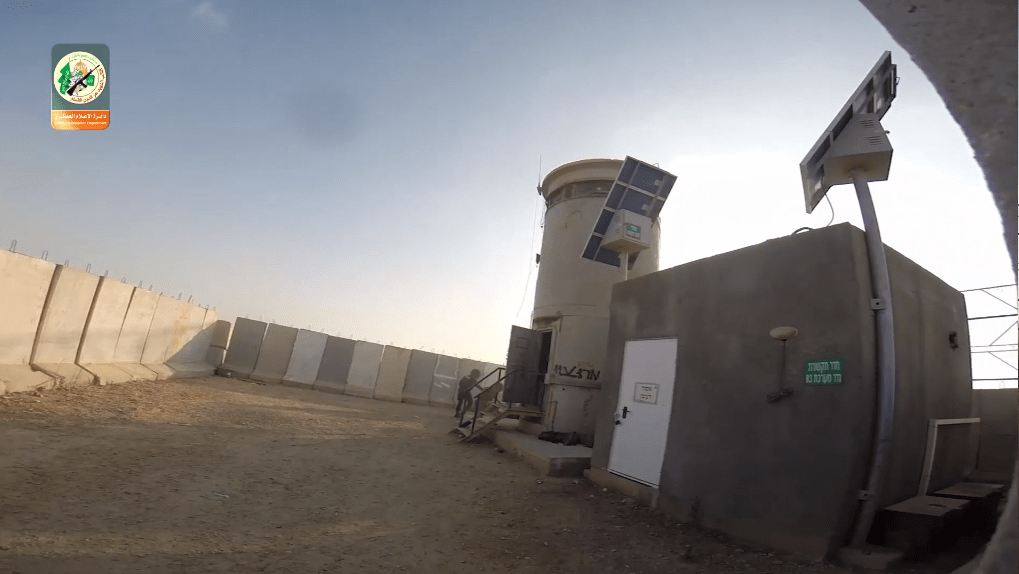
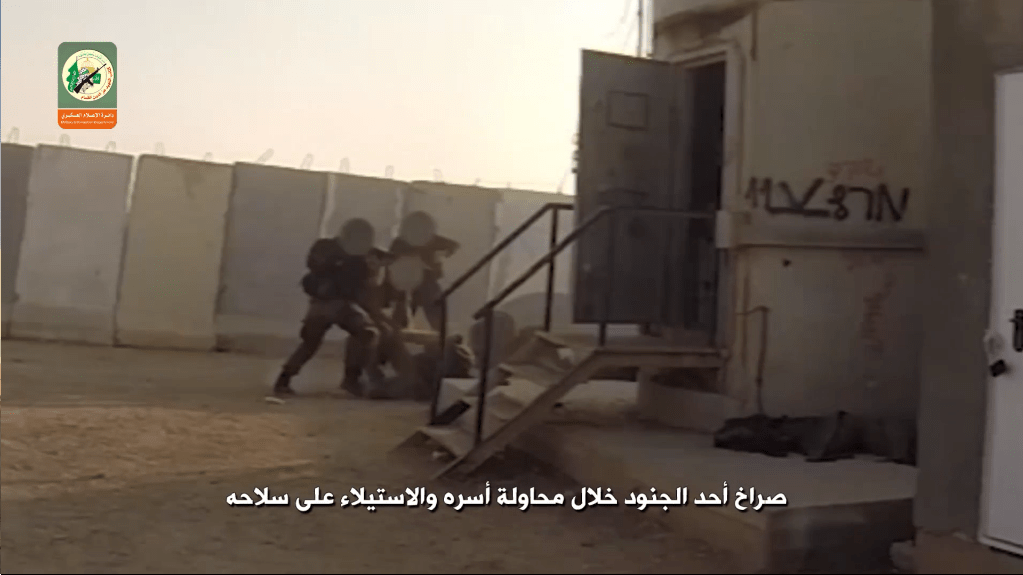
During Israeli military campaign against Gaza in 2014, Hamas and its military wing, the Ezzedeen Al-Qassam brigades, released a video showing a group of their fighters from the وحدة الأنفاق ‘Tunnel Unit’ raiding an Israeli Army’s pillbox in the Nahal Oz area east of the Gaza strip. Footage from the operation was broadcasted on Al-Aqsa TV (a Palestinian television broadcasting station), which was a smart propaganda move to contribute to the psychological war against the Israelis and raise the morale of the Palestinians. The entire operation was captured on video, although some segments were edited to hide operational techniques. Hamas fighters also displayed the Tavor X95 5.56x45mm rifle captured from an Israeli soldier – the topic of this article. We will examine the footage and analyse the tactics used by the fighters who carried out the raid and captured the rifle.
Watch the full video below:
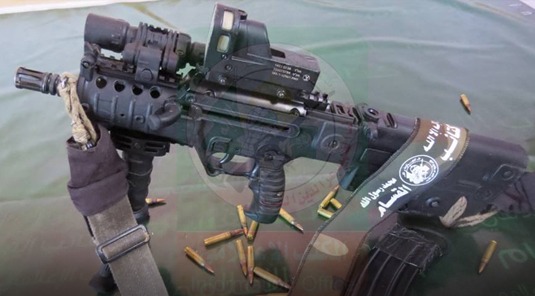
Fig. 1.1. A Hamas fighter poses with the X-95 bullpup carbine (Source: ARES CONMAT)
In this article, we will review the guerrilla tactics which Hamas fighters adopted to strike and evacuate efficiently from their successful assault.
Preparation:
Before the operation, a reconnaissance and monitoring unit had surveyed the site and its surroundings for several days to aid in the planning of the most efficient attack on the position. The reconnaissance was carried out rigorously with the unit’s commander even exiting the tunnel and moving closer to the pillbox wearing a ghillie suit before the attack. He did this to pre-assign his group’s positions for the operation, despite Israeli drones roaming in the area. Needless to say that digging the tunnel took months to complete.
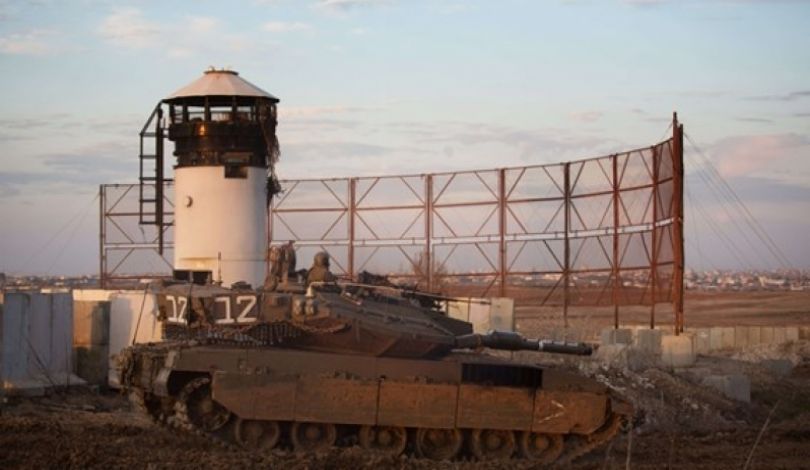
Fig. 2.1. A photo of the pillbox, along with a Merkerva tank, which is facing the Gaza strip (Source: ARES CONMAT)
Execution:
In order to have a full in-depth view of executing the operation and explaining the tactics used, we will review pictures from the released footage with an explanation below each. Please note that every single move has its purpose.
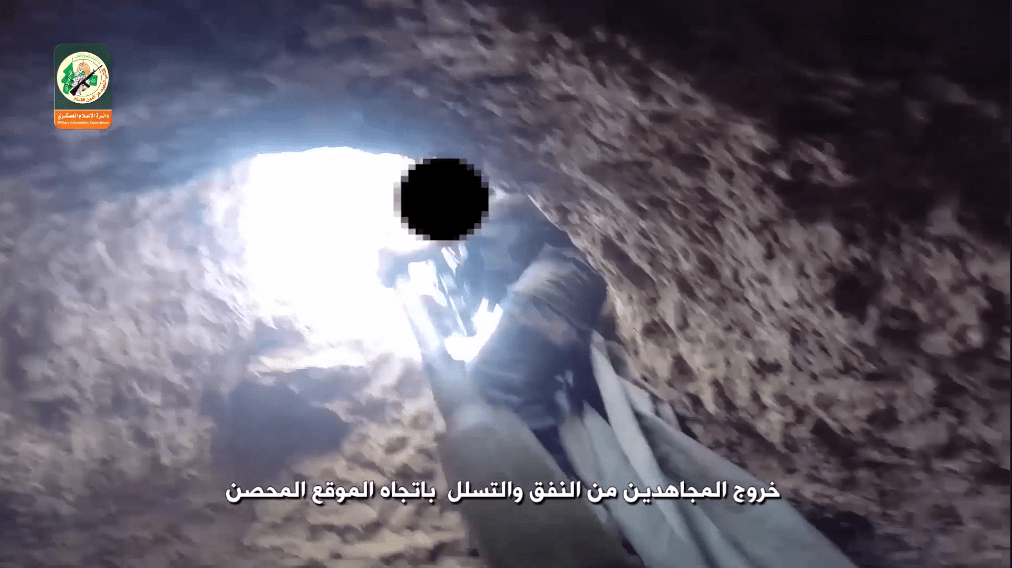
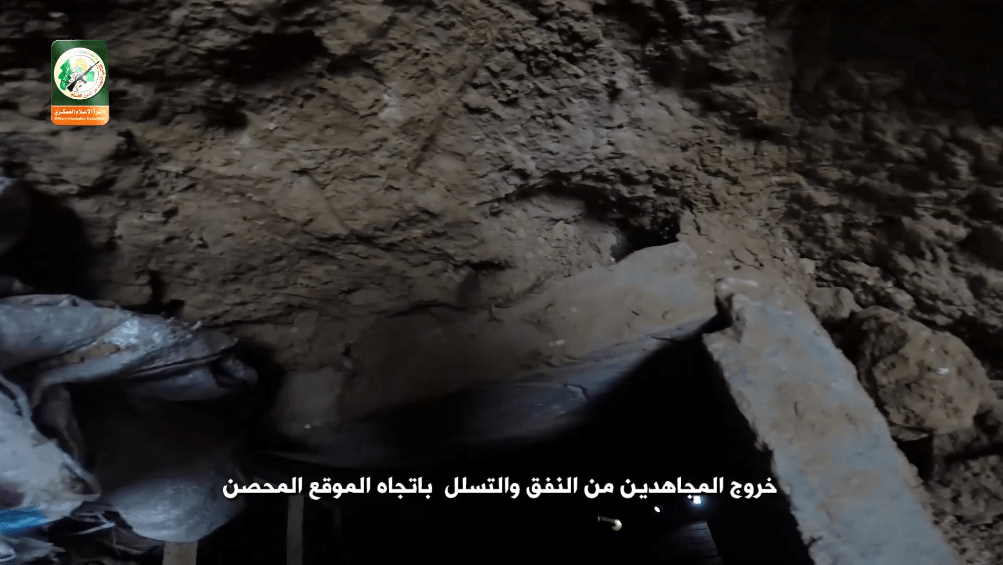
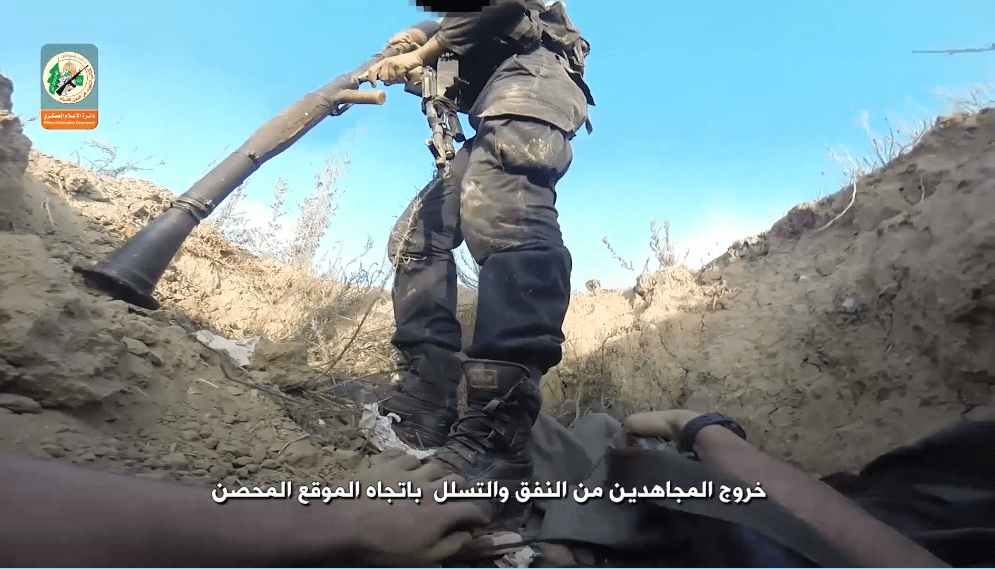
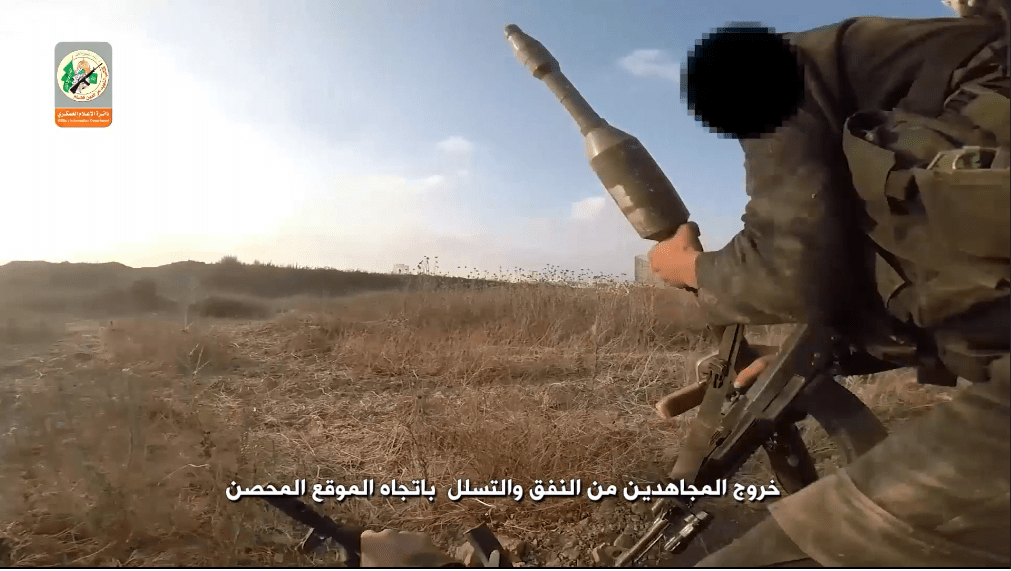
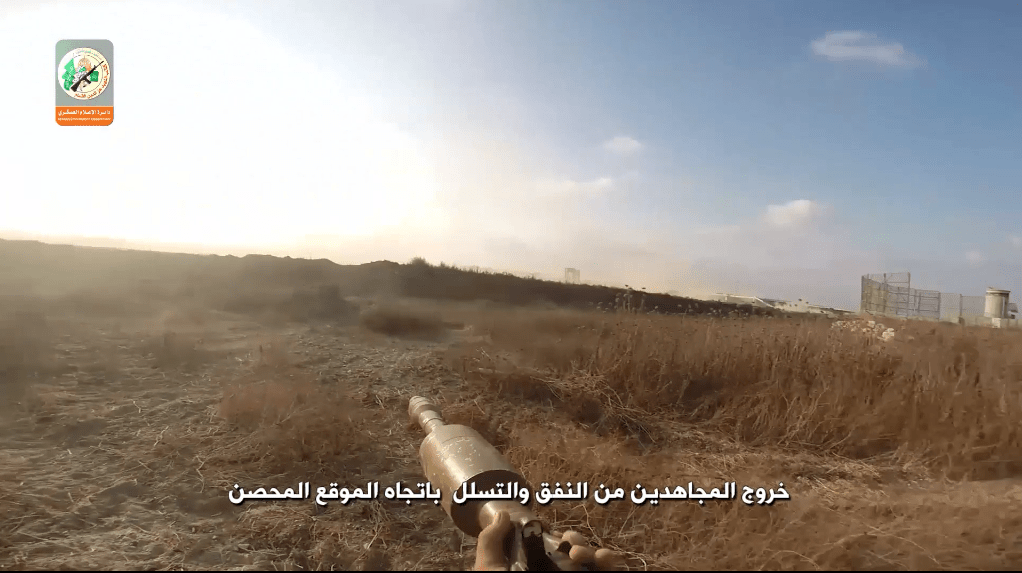
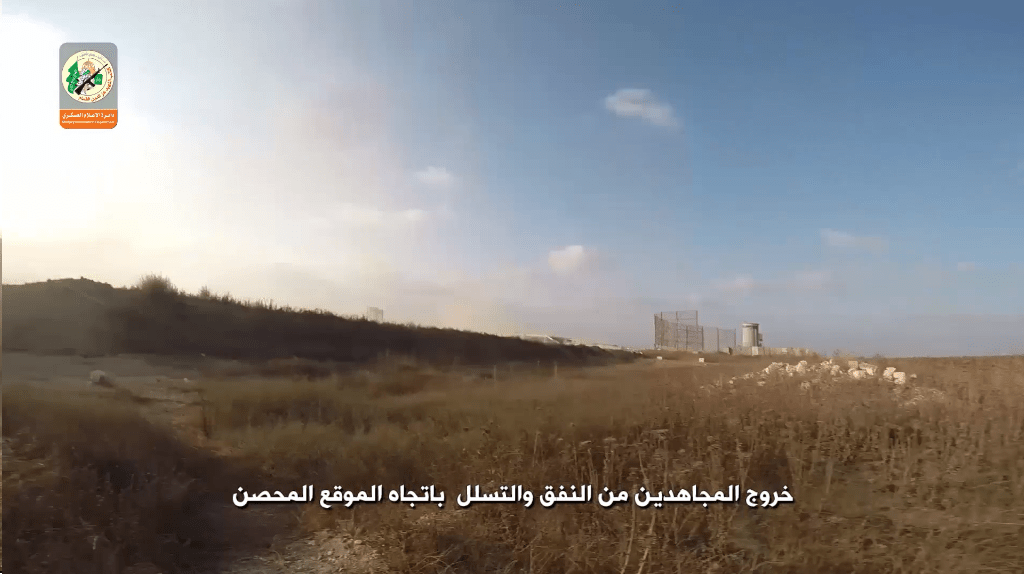
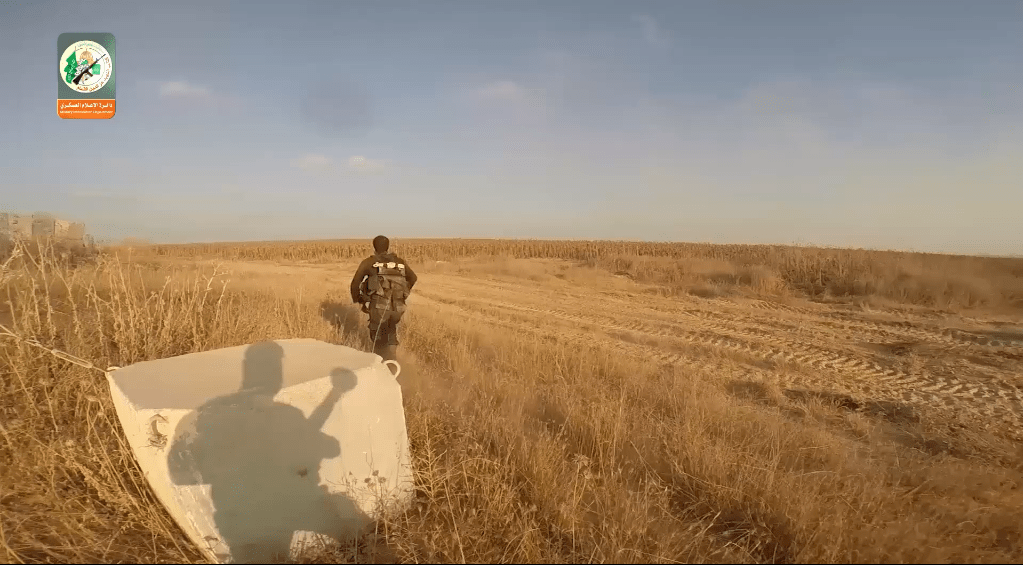
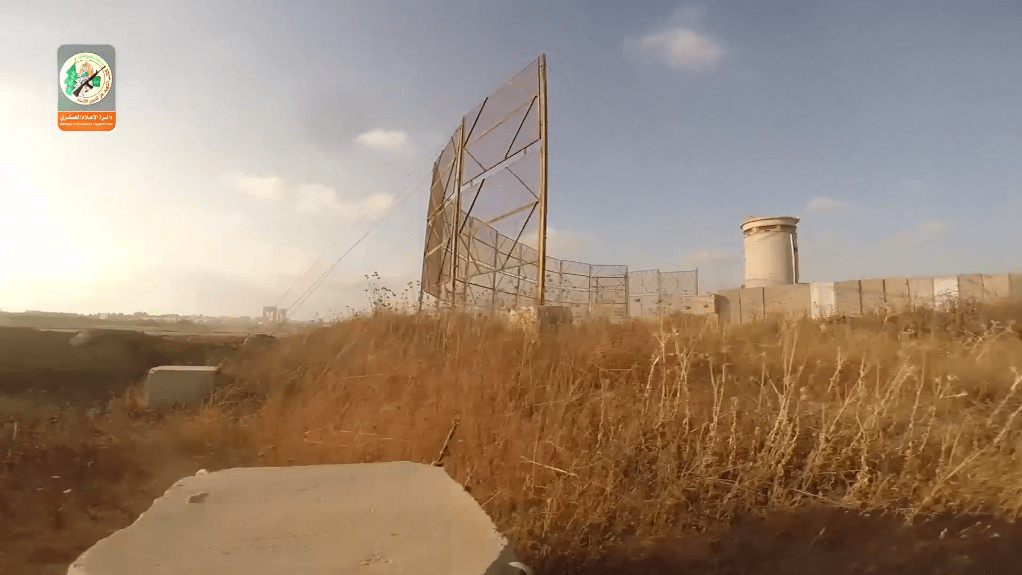
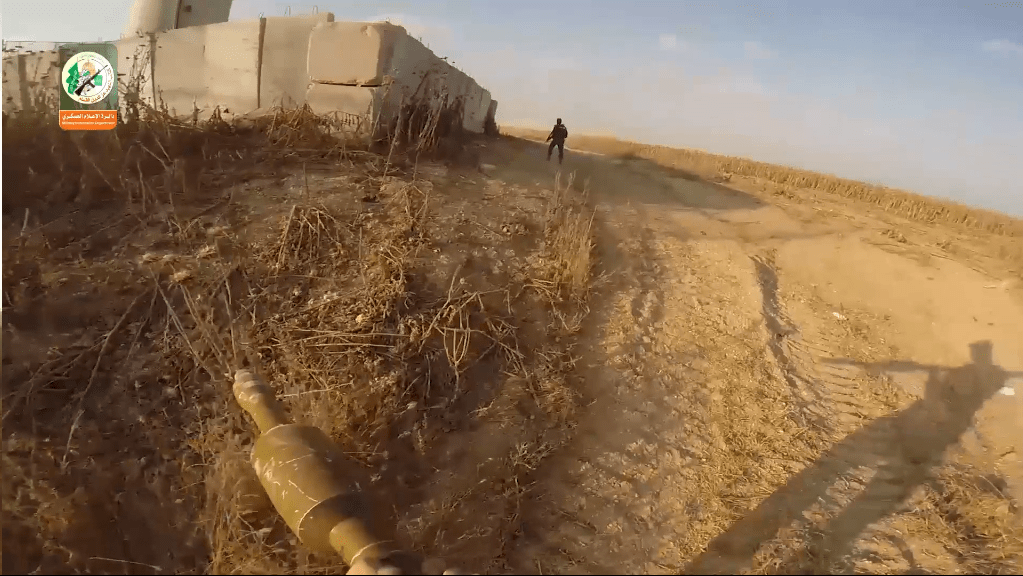
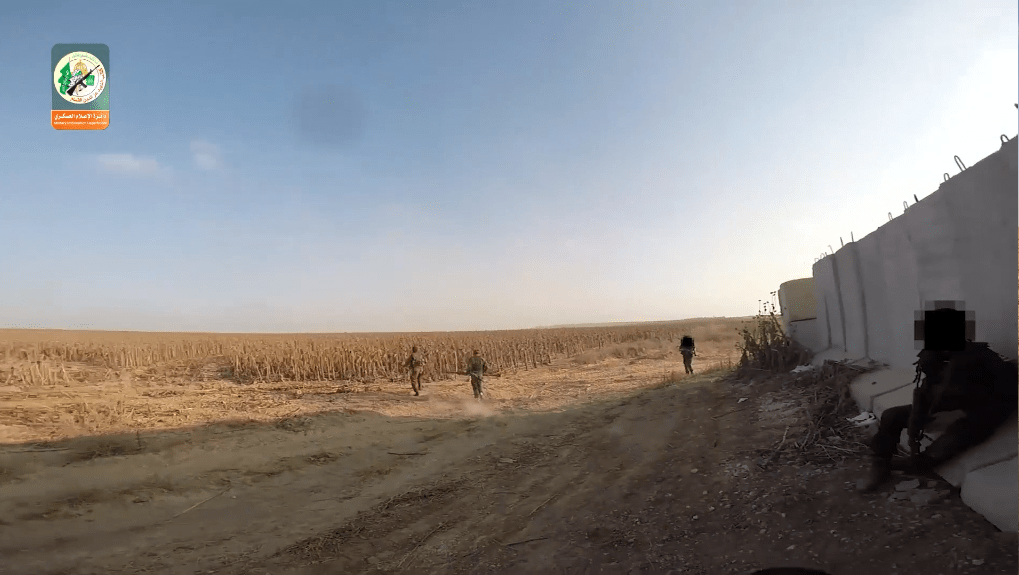
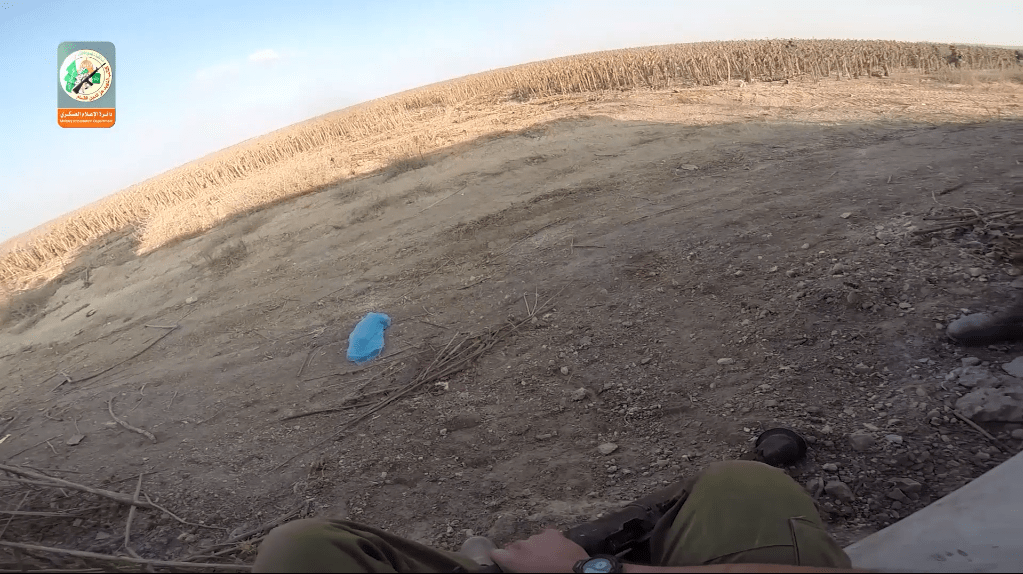
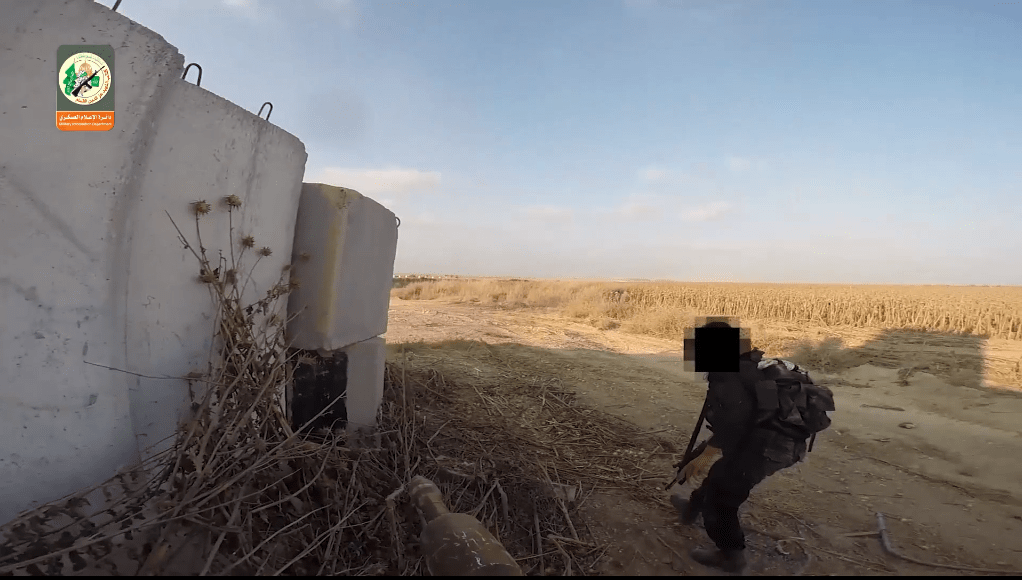
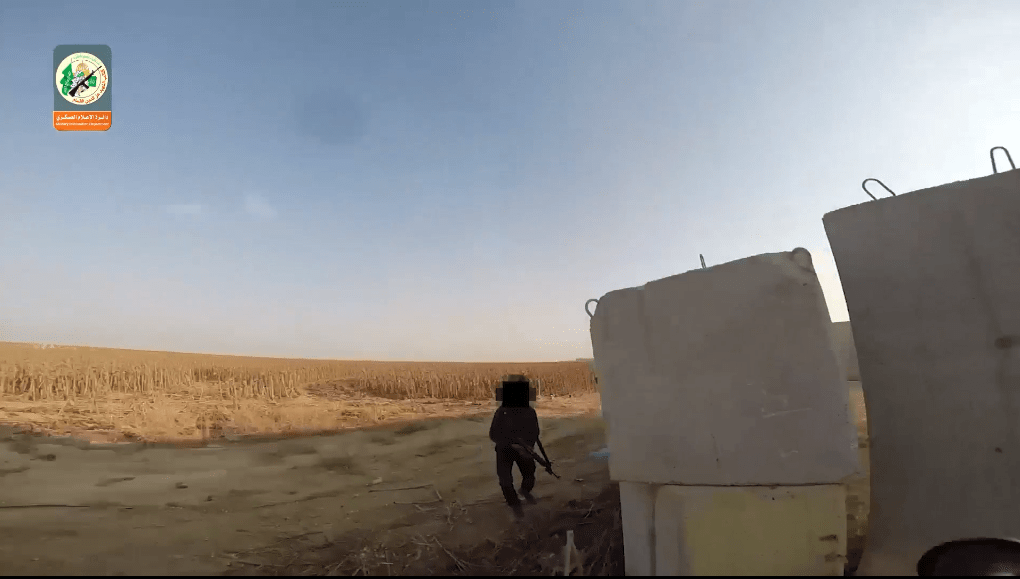
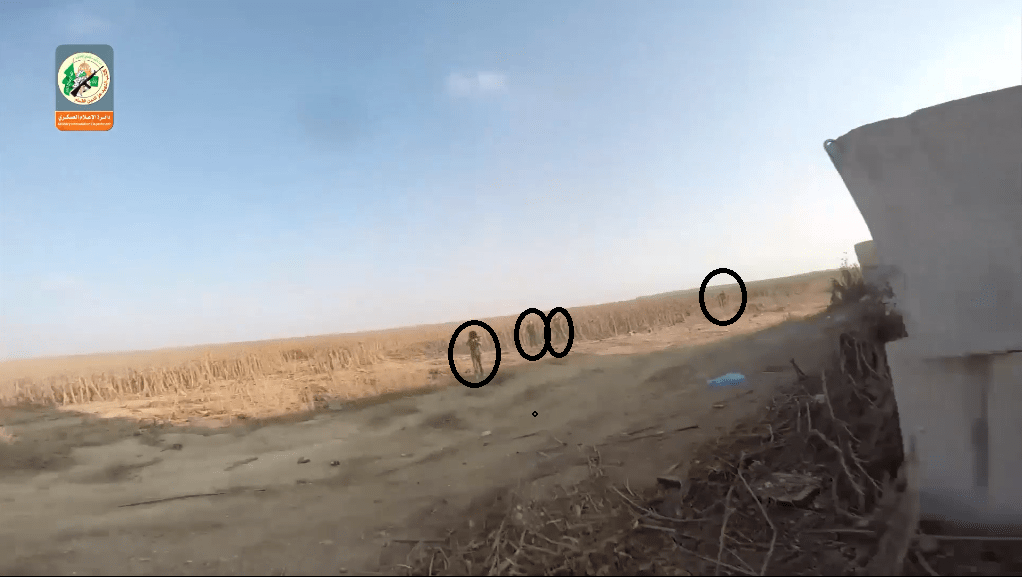
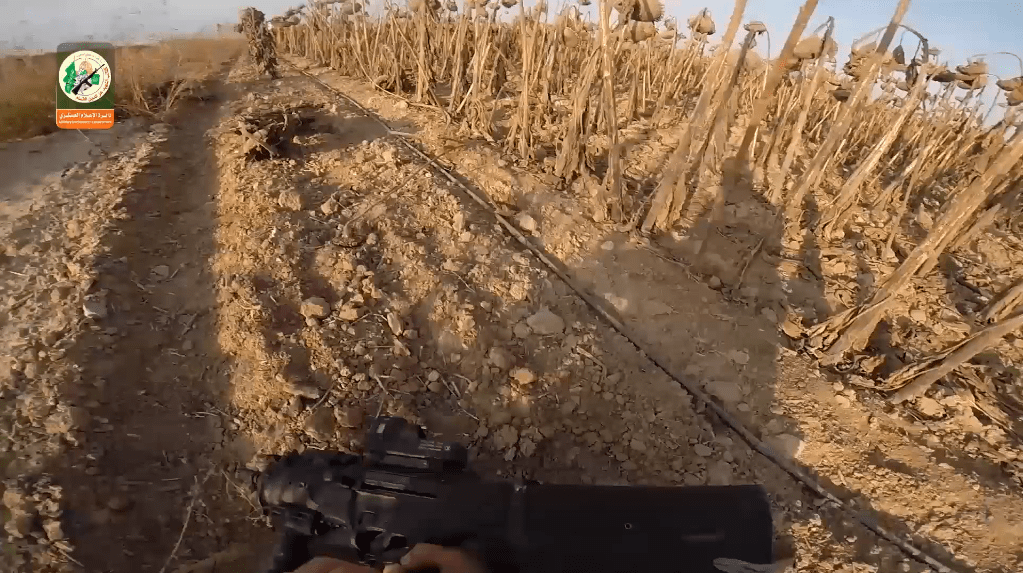
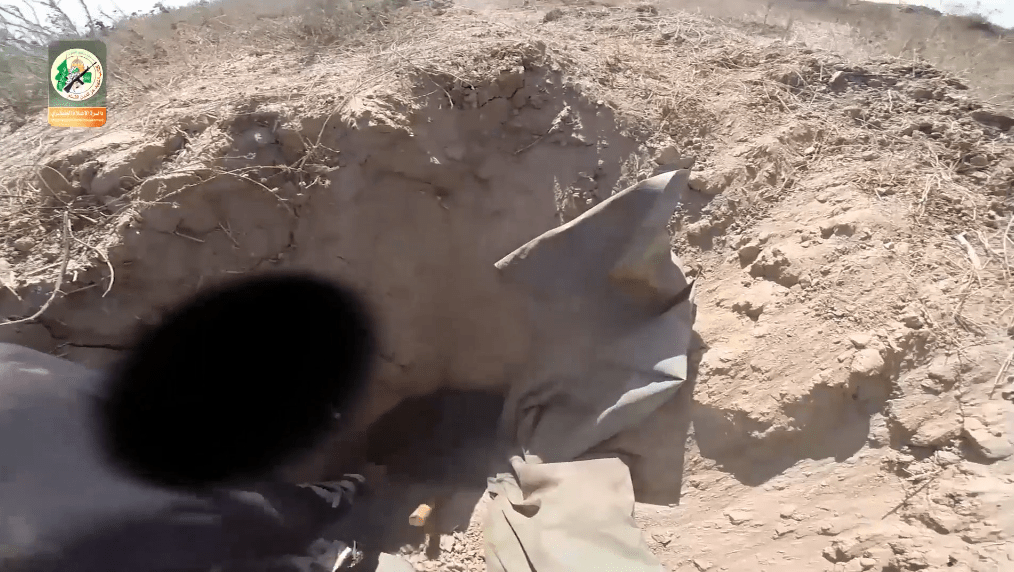
Fig. 3.1.The attacking group’s commander was the first to exit the tunnel, followed by his second in command, the fighter with the camera – seemingly in a head mount, they first handled him their weapons (AK-pattern self-loading rifles and RPGs) to prevent them snagging the tunnel walls and enable them to exit fasterFig. 3.2. A close-up view of the tunnel’s exit shows where the concrete lining ends, a ladder is used for climbing till the end of the concrete section, then fighters have to manually climb outFig. 3.3.The attacking group’s commander with a 7.62x39mm AK-patterned self-loading rifle hold’s an RPG-7 for his 2IC (second in command) as he climbs out the tunnel to take his initial positionFig. 3.4. The commander carries a PG-7VR tandem anti-tank round for the RPG-7 launcherFig. 3.5. Showing the RPG carrier and the Israeli pillbox site to the right, also note the iron U-shaped curtain fence which indicates to us that its facing borders of Gaza strip, that means the group flanked them from their left (the curtain’s purpose is to protect the site from mortar shells and RPG rounds fired from Gaza)Fig. 3.6.The group is taking advantage of long grass to cover their movement (note that long grass or bushes are good for camouflage to protect you from enemy’s view but won’t protect you from their fire – therefore it is not technically cover)Fig. 3.7.The RPG carrier proceeded to take cover behind a mound of earth to sweep the road for any vehicles that might have been passing by and to secure his unit’s flankFig. 3.8. With the road clear from any tanks or vehicles, while the operator armed with an AK then gives the RPG carrier cover in case any foot patrols are in the areaFig. 3.9. A second group member then bounds forward as the unit advances (note their positioning in ambush and managing distances)Fig. 3.10.After assuring that the road is clear, the commander leads the unit forward, running alongside the high ground on the roadside for two reasons, the first is to gain advantage from the cover it provides and second, to stay hidden because if he ran in the open ground he can be easily spotted from the shade and silhouette from running under the sunlight.
The fighters maintain distance between each other, avoiding being gathered in one place in case they were spotted and fired on by drones or artillery, if they were bunched together they would make a larger target to be engaged.
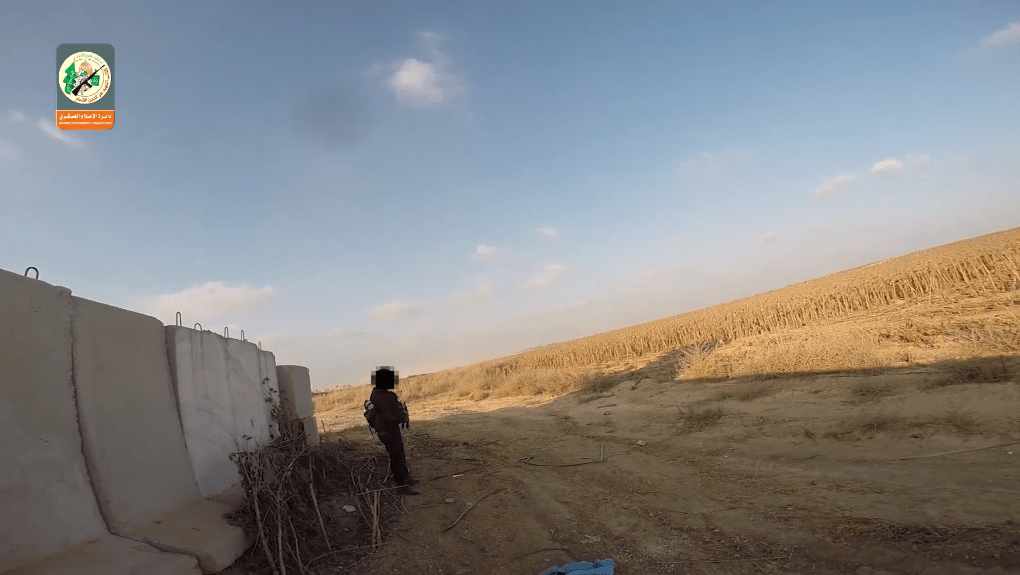
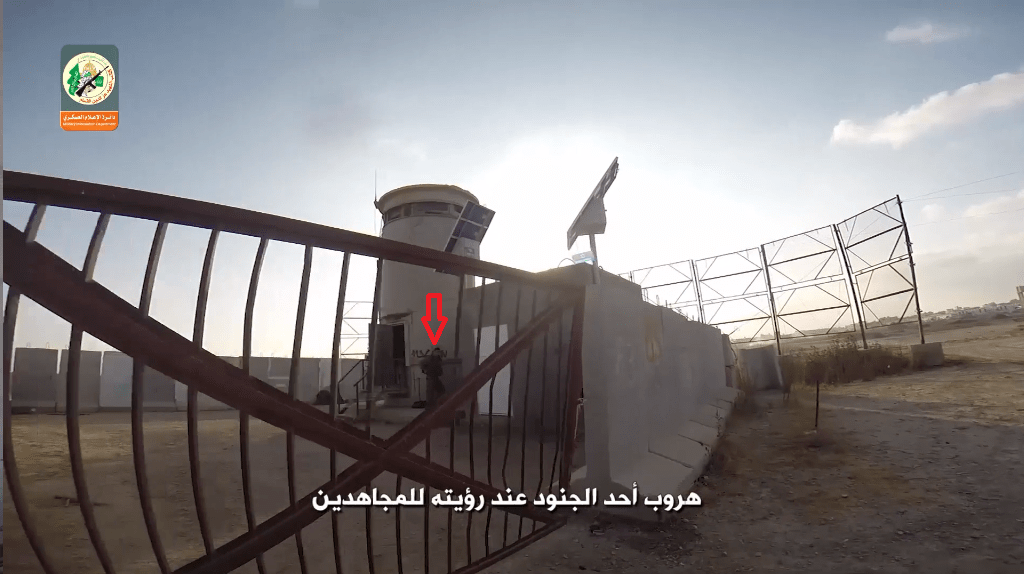
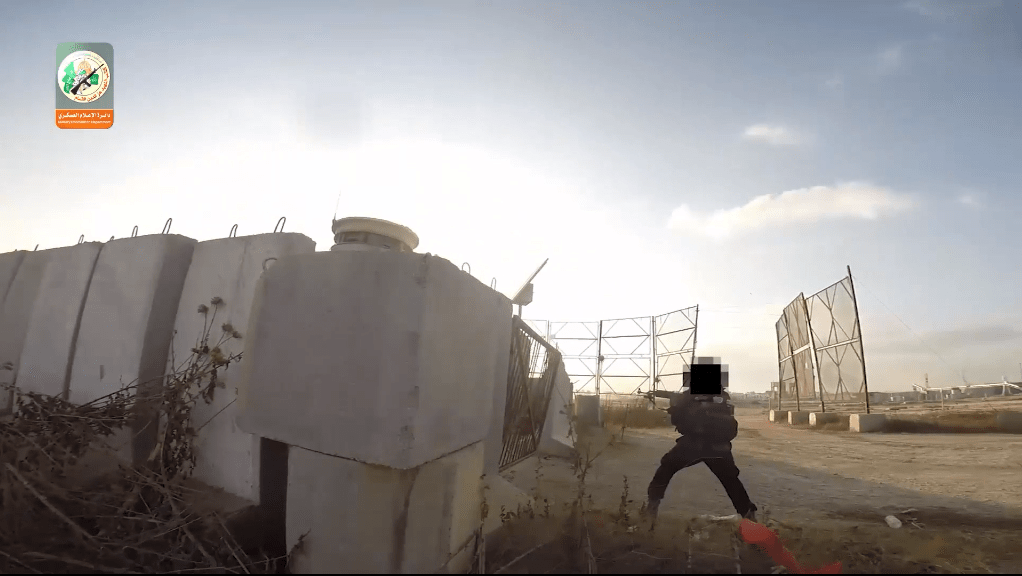
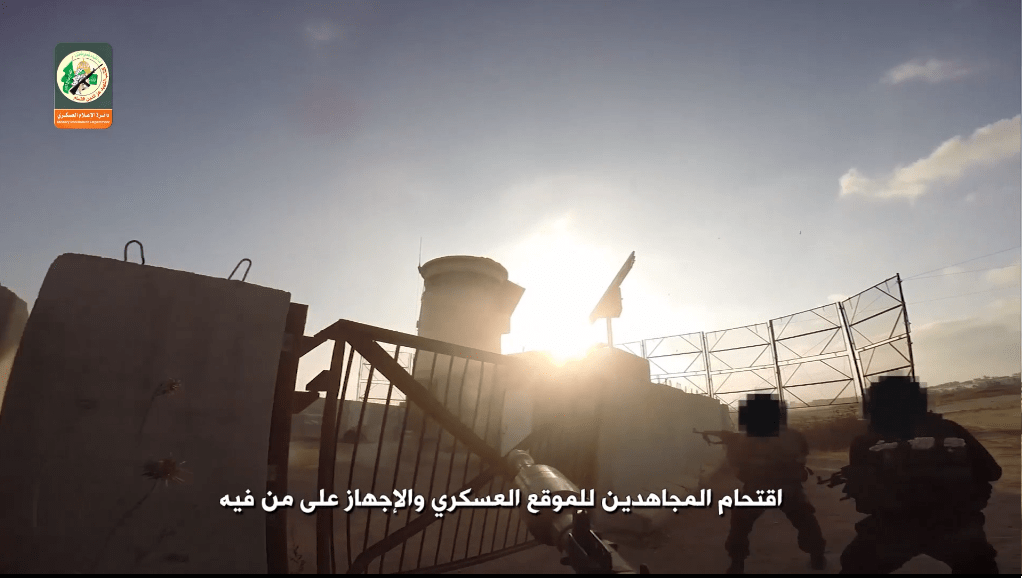
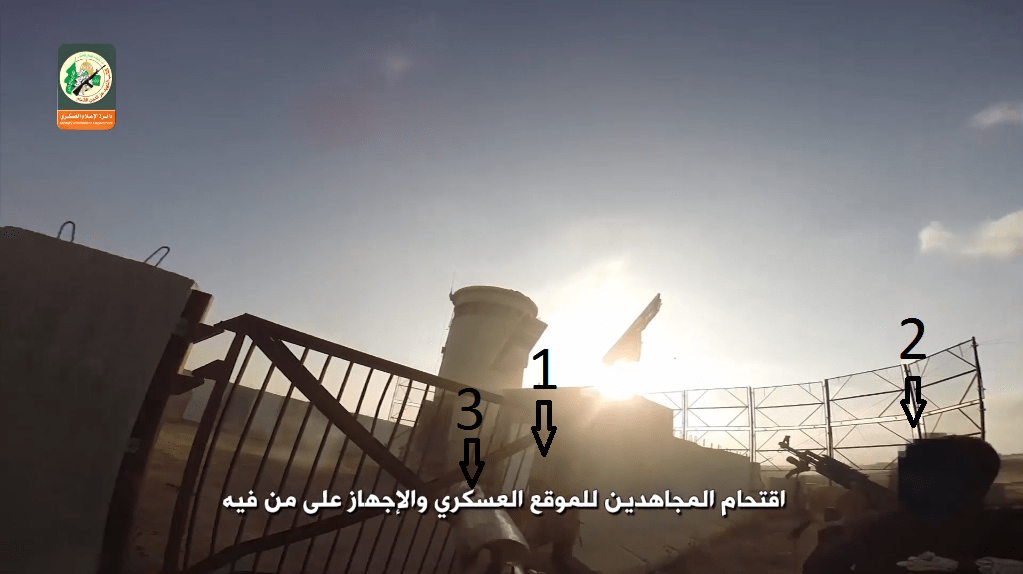
Fig. 3.11. The shade of the RPG carrier indicates why they chose the left flank of the pillbox and this time of day for their attack, to coincide with the gun being directly in the eyes of sentries in the outpost, with the sun facing the tower it makes spotting their approach more difficult)Fig. 3.12. Gaza Strip appears on the horizon, also note the wires hooked in concrete blocks are to reinforce the curtain and prevent it from collapsing on the outpost if it is hitFig. 3.13. Unlike the first move while securing the roadside, this time the commander proceeds first with his assault rifle to survey the area for any roaming Israeli soldiersFig. 3.14. Commander surveying the surrounding area for any approaching Israeli vehicles and soldiersFig. 3.15. Commander and his 2IC catching their breath after securing the area, waiting for the support group members to arrive and giving them orders to take positions around the site while taking benefit from the site’s wall as a coverFig. 3.16.Support group taking positions among the high grass to outflank any Israeli supporting troops arriving to aid the site (three of them barely appear in the up-right corner of the picture)Fig. 3.17. Commander pointing to the RPG carrier to proceed, the reason behind that is to deal with any positioned vehicles or soldier’s gatherings as well as covering the storming group from the tower if it started shooting at them, they would likely hit it with RPG round in responseFig. 3.18. While RPG carrier proceeds to secure, he made eye-contact with an Israeli soldier who was shocked to see Palestinians a few meters away, luckily for them the soldier panicked and escaped without opening fireFig. 3.19. Commander switching positions again with the RPG carrier to handle Israeli soldiers with his assault rifleFig. 3.20.The unit’s commander opens fire through the outpost’s gate. Note that he does not stand right in front the gate but is positioned slightly to the left to minimize his profile and not expose his full body in case an Israeli soldier is hidden behind the wall in his blind spot, a tactic widely used by both special forces and regular soldiers around the world Fig. 3.21.After securing the gate for his teammates, another rifleman arrives and the RPG carrier continues to advanceFig. 3.22.Tower guards were alerted and open fire on them, note the muzzle directions, RPG round as the two riflemen engaged the Israelis successfullyFig. 3.23.Detached members from the support group proceeding to assist the attacking group, they didn’t engage since the attacking had already cleared the outpost
Fig. 3.24-25. A member from the support group standing at the gate while his fellows from attacking group who are attempting to capture an Israeli soldier for a P.O.W. exchangeFig. 3.26. Three of the storming group trying to kidnap the soldier while he is rolling on the floor screaming, after capturing his X95 rifle. Note what appears to be the body of another Israeli soldier beside the tower.
In 2019, 5 years after the operation, the Al-Qassam brigades revealed what was cut in video editing. As they dragged the captured Israeli soldier towards the tunnel grabbed the outpost’s gate and ould not let go, continuing to scream, they then shot the soldier and exfiltrated
Fig. 3.27.Here we can see four of the support group waiting for the commander’s order to evacuate the areaFig. 3.28. The captured Tavor X95 seen as the unit is exfiltrating, they still manage to maintain their spacing between each other. The exfiltration after contact with the enemy is a more dangerous process than infiltration, the potential of being spotted is higher since the Israelis might have called for support via radio. With they are hurrying to escape they maintain their orderFig. 3.29.After all fighters evacuated from the tunnel, every one of them left their firearm at the Tunnel’s entrance and left only the commander and his 2IC to deal with them. The reason behind this is because in another operation, while evacuating, Israeli drones fired on another unit killing 8 of them while they were clustered around the tunnel hole. Later when everyone had exfiltrated the tunnel was blown up by Al-Qassam engineers to erase any evidence that could lead the Israelis to them.
The Results:
Al-Qassam declared that they killed 10 IDF soldiers at the pillbox outpost, while the Israelis claimed only 5 were killed. The Palestinian group suffered zero casualties in action. The video was released to the public media as a proof of their success and to also display the captured Israeli firearm. Three years after the operation the IDF have dismantled this outpost.
Here are some images from a second video where Al-Qassam displayed the firearm:
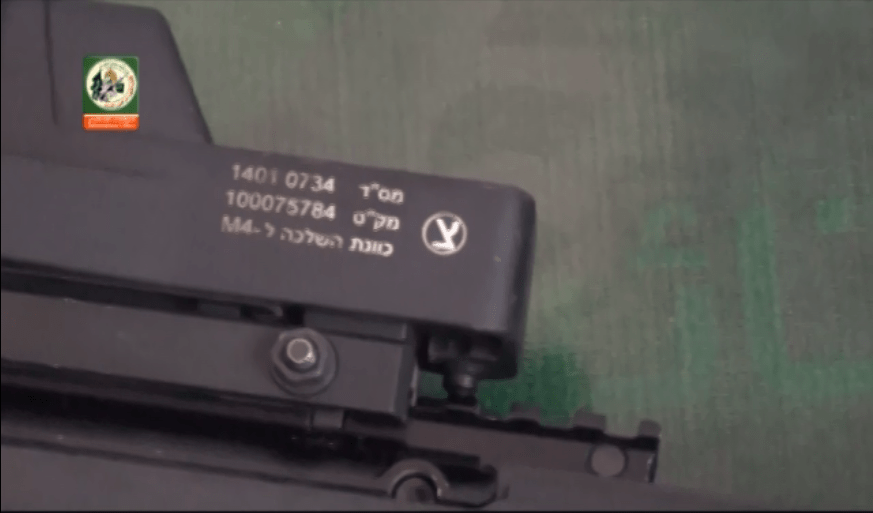
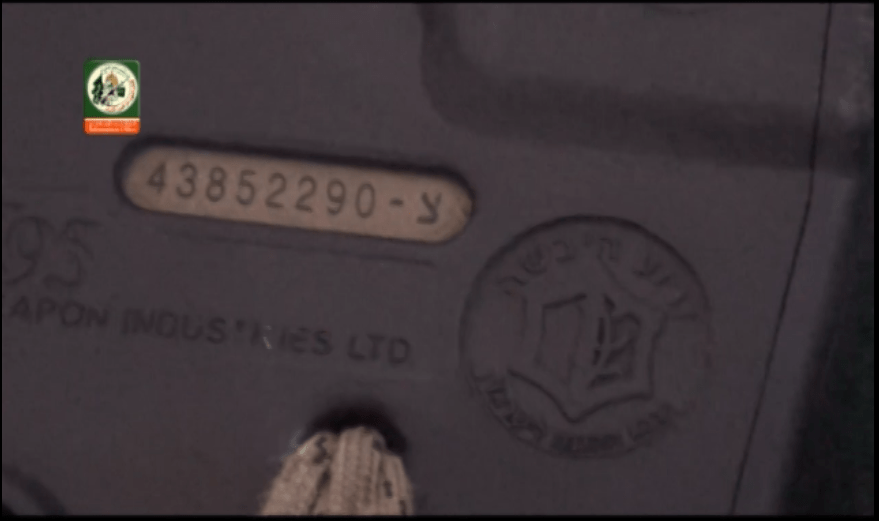
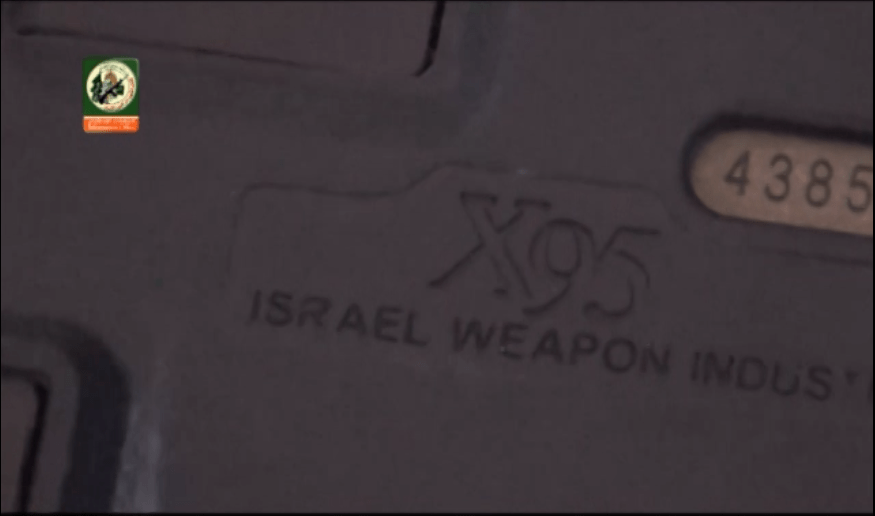
Fig. 4.1.The captured Tavor X95Fig. 4.2.Serial number and markings on the opticFig. 4.3.The rifle’s serial number on the buttstock besides an IDF Crest molded in the polymer.Fig. 4.4.Stamped markings on the polymer frame indicate the model and the manufacturer